はじめに
UIKitでUICollectionViewを使って表現していたグリッドデザインを、SwiftUIで表現する方法について調べたので記事に残します。
開発環境
- macOS Big Sur 11.2.3
- Xcode 12.4
- Swift 5.3.2
本題:LazyVGridでグリッドデザインを表現する
LazyVGridを使ってグリッドデザインを表現できる。
※参考:https://developer.apple.com/documentation/swiftui/lazyvgrid
並べ方に関して
アイテムを詰めて並べる
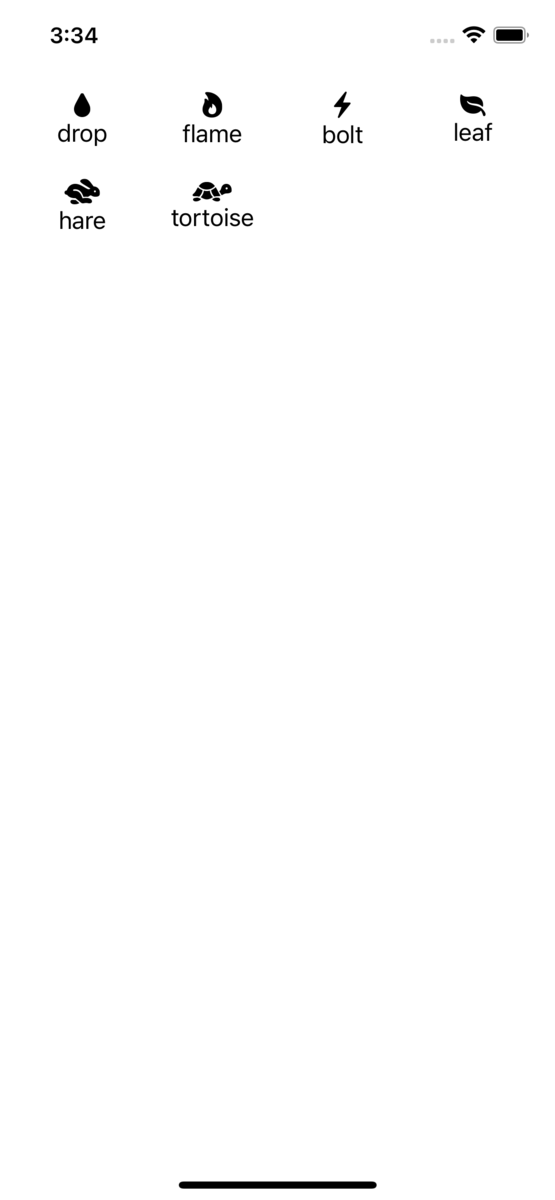
以下はアイコンをLazyVGridを使って並べたサンプル。GridItemのサイズ設定をadaptiveにすることで、指定した範囲内でアイコンを詰めて表示している。
ContentView.swift
import SwiftUI

struct Symbol: Identifiable {
    var id = UUID()
    var image: String
    var name: String
}

struct ContentView: View {
    let symbols = [Symbol(image: "drop.fill", name: "drop"),
                   Symbol(image: "flame.fill", name: "flame"),
                   Symbol(image: "bolt.fill", name: "bolt"),
                   Symbol(image: "leaf.fill", name: "leaf"),
                   Symbol(image: "hare.fill", name: "hare"),
                   Symbol(image: "tortoise.fill", name: "tortoise")
    ]

    let columns: [GridItem] = [GridItem(.adaptive(minimum: 100, maximum: 150))]

    var body: some View {
        ScrollView {
            LazyVGrid(columns: columns, spacing: 20) {
                ForEach(symbols) { symbol in
                    VStack {
                        Image(systemName: symbol.image)
                        Text(symbol.name)
                    }
                }
            }
            .padding()
        }
    }
}

※adaptiveの挙動に関して
adaptiveの「詰めて表示」の例として、adaptiveの最小値を80に変更してみる。そうすると、以下のような見た目になる。

adaptiveの最小値を60に変更すると以下。

1行あたりのアイテム数を指定して並べる
GridItemのcountで1行あたりのアイテム数を設定できる。
ContentView.swift
import SwiftUI

struct Symbol: Identifiable {
    var id = UUID()
    var image: String
    var name: String
}

struct ContentView: View {
    let symbols = [Symbol(image: "drop.fill", name: "drop"),
                   Symbol(image: "flame.fill", name: "flame"),
                   Symbol(image: "bolt.fill", name: "bolt"),
                   Symbol(image: "leaf.fill", name: "leaf"),
                   Symbol(image: "hare.fill", name: "hare"),
                   Symbol(image: "tortoise.fill", name: "tortoise")
    ]

    // 1行あたり3つのアイコンを表示する
    let columns: [GridItem] = Array(repeating: .init(.flexible(minimum: 60)), count: 3)

    var body: some View {
        ScrollView {
            LazyVGrid(columns: columns, spacing: 20) {
                ForEach(symbols) { symbol in
                    VStack {
                        Image(systemName: symbol.image)
                        Text(symbol.name)
                    }
                }
            }
            .padding()
        }
    }
}

余白の設定に関して
行間の余白を設定
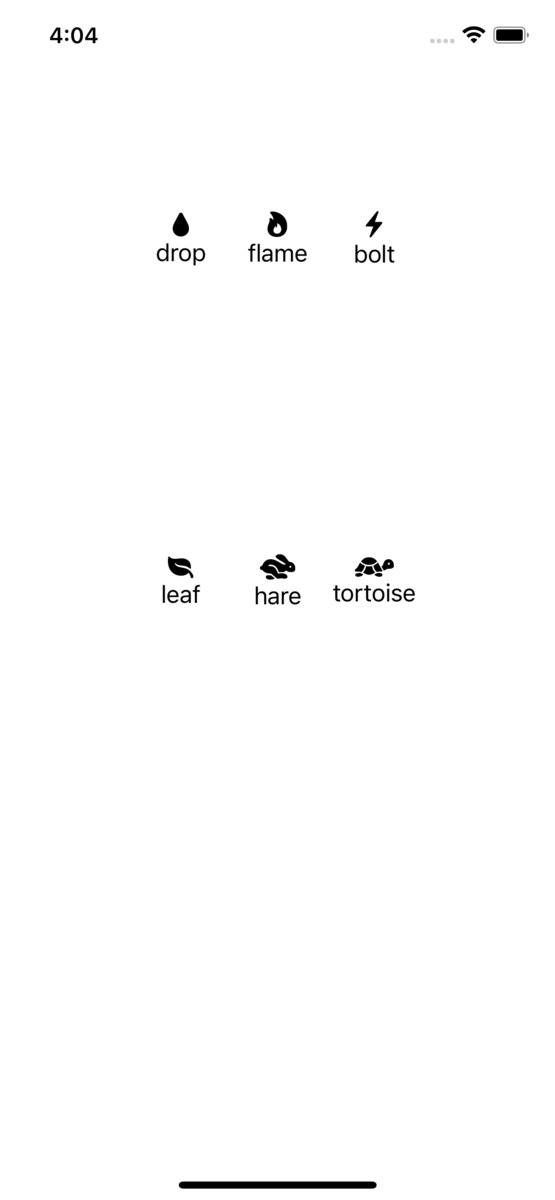
LazyVGridのspacingで行間の余白を設定できる。
ContentView.swift
import SwiftUI

struct Symbol: Identifiable {
    var id = UUID()
    var image: String
    var name: String
}

struct ContentView: View {
    let symbols = [Symbol(image: "drop.fill", name: "drop"),
                   Symbol(image: "flame.fill", name: "flame"),
                   Symbol(image: "bolt.fill", name: "bolt"),
                   Symbol(image: "leaf.fill", name: "leaf"),
                   Symbol(image: "hare.fill", name: "hare"),
                   Symbol(image: "tortoise.fill", name: "tortoise")
    ]

    let columns: [GridItem] = Array(repeating: .init(.flexible(minimum: 60)), count: 3)

    var body: some View {
        ScrollView {
            // spacingで行間の余白を設定
            LazyVGrid(columns: columns, spacing: 200) {
                ForEach(symbols) { symbol in
                    VStack {
                        Image(systemName: symbol.image)
                        Text(symbol.name)
                    }
                }
            }
            .padding()
        }
    }
}

LazyVGridの上下左右の余白を設定
これはLazyVGridに限らないが、paddingで設定できる。
ContentView.swift
import SwiftUI

struct Symbol: Identifiable {
    var id = UUID()
    var image: String
    var name: String
}

struct ContentView: View {
    let symbols = [Symbol(image: "drop.fill", name: "drop"),
                   Symbol(image: "flame.fill", name: "flame"),
                   Symbol(image: "bolt.fill", name: "bolt"),
                   Symbol(image: "leaf.fill", name: "leaf"),
                   Symbol(image: "hare.fill", name: "hare"),
                   Symbol(image: "tortoise.fill", name: "tortoise")
    ]

    let columns: [GridItem] = Array(repeating: .init(.flexible(minimum: 60)), count: 3)

    var body: some View {
        ScrollView {
            LazyVGrid(columns: columns, spacing: 200) {
                ForEach(symbols) { symbol in
                    VStack {
                        Image(systemName: symbol.image)
                        Text(symbol.name)
                    }
                }
            }
            // 画面端からの余白を設定
            .padding(100)
        }
    }
}

画面遷移に関して
画面遷移の実装は、(これもLazyVGridに限らないが)NavigationLinkを使って実現できる。
ContentView.swift
import SwiftUI

struct Symbol: Identifiable {
    var id = UUID()
    var image: String
    var name: String
}

struct ContentView: View {
    let symbols = [Symbol(image: "drop.fill", name: "drop"),
                   Symbol(image: "flame.fill", name: "flame"),
                   Symbol(image: "bolt.fill", name: "bolt"),
                   Symbol(image: "leaf.fill", name: "leaf"),
                   Symbol(image: "hare.fill", name: "hare"),
                   Symbol(image: "tortoise.fill", name: "tortoise")
    ]

    let columns: [GridItem] = Array(repeating: .init(.flexible(minimum: 80)), count: 3)

    var body: some View {
        NavigationView {
            ScrollView {
                LazyVGrid(columns: columns, spacing: 30) {
                    ForEach(symbols) { symbol in
                        NavigationLink(
                            destination: DetailView(symbol: symbol),
                            label: {
                                VStack {
                                    Image(systemName: symbol.image)
                                    Text(symbol.name)
                                }
                            })
                    }
                }
                .padding()
            }
            .navigationTitle("アイコン一覧")
        }
    }
}
DetailView.swift
import SwiftUI

struct DetailView: View {
    var symbol: Symbol

    var body: some View {
        VStack {
            Image(systemName: symbol.image)
            Text(symbol.name)
        }
    }
}

おわりに
簡単にグリッドデザインを表現できるのはよいと思いました。今後、実践を通してさらに理解度を上げていこうと思います。